Turn organic waste into usable compost in a small living space.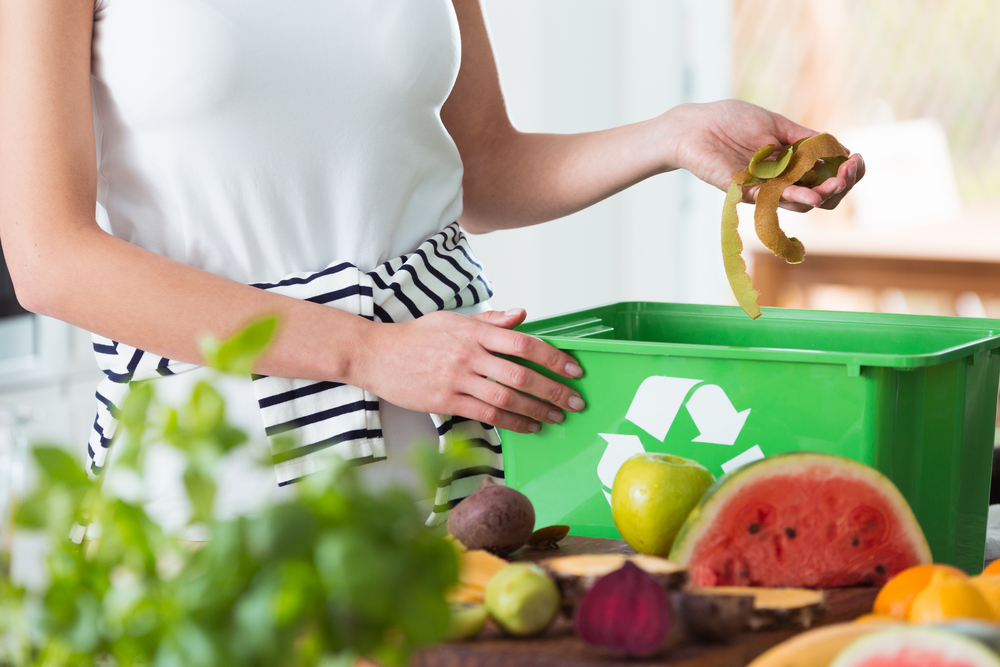
Composting is the natural decaying process of organic waste, ranging from vegetable scraps and fruit peels to coffee grounds and eggshells. When tossed into landfills, organic waste generates methane gas that increases the rate of global climate change.
During this COVID-19 period, many of us are staying at home and cooking more. By composting, you can make a difference and, in the process, get free fertiliser for your houseplants. The best part about it is that you can do it in a container the size of a wastepaper basket, so it’s perfect for apartment dwellers.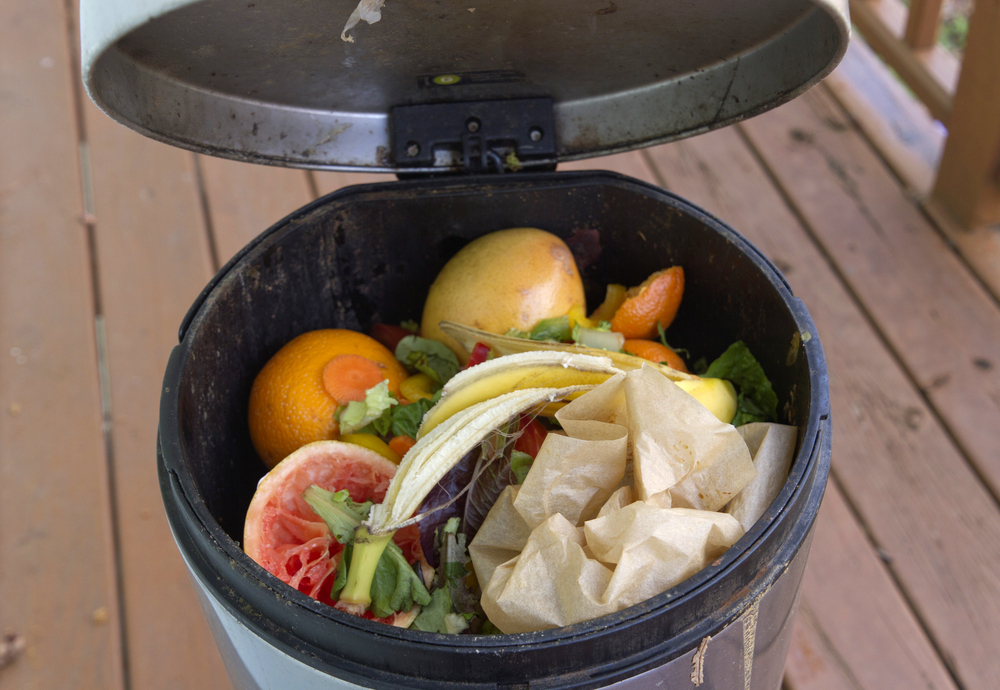 Is compost smelly?
Compost should smell slightly earthy or neutral. If your compost stinks, it is likely that you have added non-organic matter that is hindering the decomposition process, you have added meat and other no-no items to it, or the compost heap is too wet.
What can be composted?
The ideal compost heap should be a 50/50 mix of ‘greens’ and ‘browns’. The ‘greens’ are the wet or moist materials that are quick to rot. These include discarded raw fruit and vegetable parts, egg shells, grass cuttings, houseplants, wilted flowers, tea bags, tea leaves, and coffee grounds. The ‘browns’ are the dry matter that soak up and balance the moisture level in your compost pile. These include scrunched up newspapers, cardboard, cereal or tissue boxes (remove plastic lining first), non-glossy papers and cards, dried leaves or twigs, toilet rolls and kitchen paper.
Take note that there are things you should never add to your compost bin. These include plastics (including cling film), glass and metals (including aluminium foil) that will not break down; pet litter or faeces as they may carry diseases and smells; bones, fish, meat, cooked food, and dairy products, all of which will attract pests and emit odours; oils; and laminated papers and cards.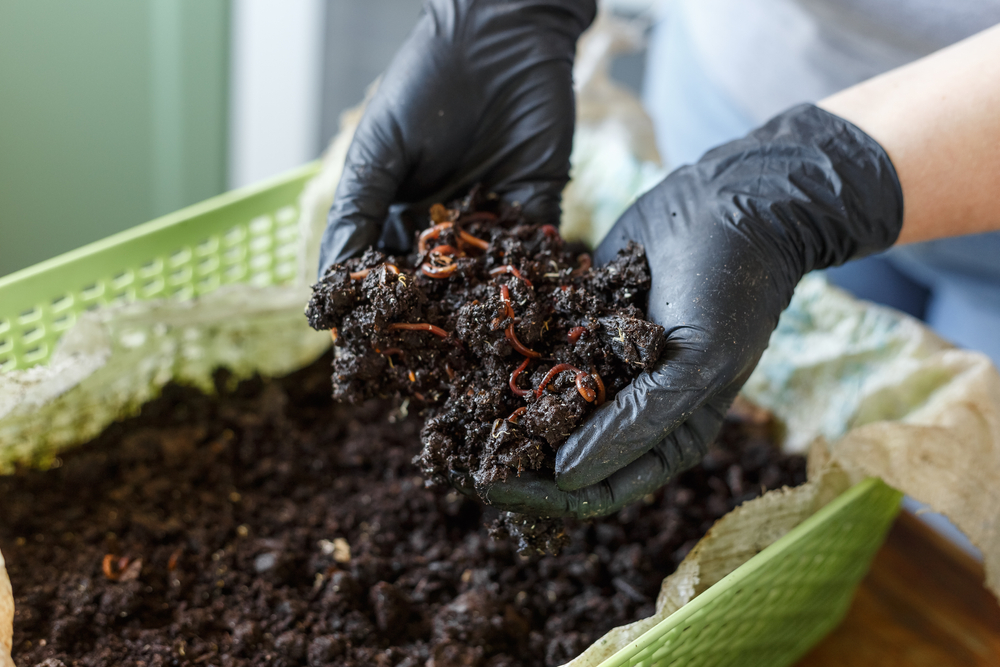 How do you start composting?
To start your composting journey, you must first decide on the type of indoor composting methods that work for you. Common ones include DIY composting and vermicomposting.
For DIY composting, all you need is a container the size of a wastepaper basket with holes drilled at the bottom for drainage. Use a translucent one that allows you to check on the progress of the composting at a glance without having to dig through the container. Prop this container up so that excess liquids can drain easily. Start with a layer of dry materials followed by a layer of green materials and then sprinkle in your compost starter of soil or coffee grounds. Finish off with another layer of dry materials and mix everything together well. Add a bit of water and cover with an insulating layer such as a thick layer of newspapers or flattened cardboard box. Place your container in a well-ventilated space that has some sunlight. An apartment balcony or the corridor outside your unit would be ideal.
Vermicomposting relies on worms to feed on waste and speed up the decomposition process. The worm waste or castings make for highly nutritious plant fertilisers. Worm species that work best for this method are the Malaysian Blue Worms, Red Wrigglers, and African Night Crawlers. Worms can be added to the top of the dry and green layers. They will burrow down to feed on the waste. As worms do not burrow too deep, a bin 12–18cm deep would be ideal. It should be well ventilated and preferably opaque, as worms are sensitive to light. Vermicomposting worms double in population every three months, so join a Facebook vermicomposting group where you can buy worms or even get them free from fellow composters, who would be happy to share tips, too.
Can you keep piling scraps in your compost bin?
If your family cooks often, you may have a fresh batch of raw kitchen scraps every day. You can simply layer on till your bin is full. You can save extra ‘brown’ scraps in a separate container, ready for layering with your ‘greens’. Remove the top-insulating layer. Add the same amount of ‘greens’ and ‘browns’ and top with a layer of compost starter (soil or coffee grounds). Sprinkle some water and mix the newly added materials. Try not to disturb the old materials beneath. When you have completed these steps, put back the top-insulating layer.
When can you harvest your compost?
The compost should be ready in three weeks to a month. To be sure, check and see that there are no recognisable wastes such as vegetable or fruit scraps. The resulting compost would have sunk to the bottom of the container and should resemble crumbly, dark and moist soil. It should also have a fresh, earthy aroma.